Table of Contents
Opening the framework
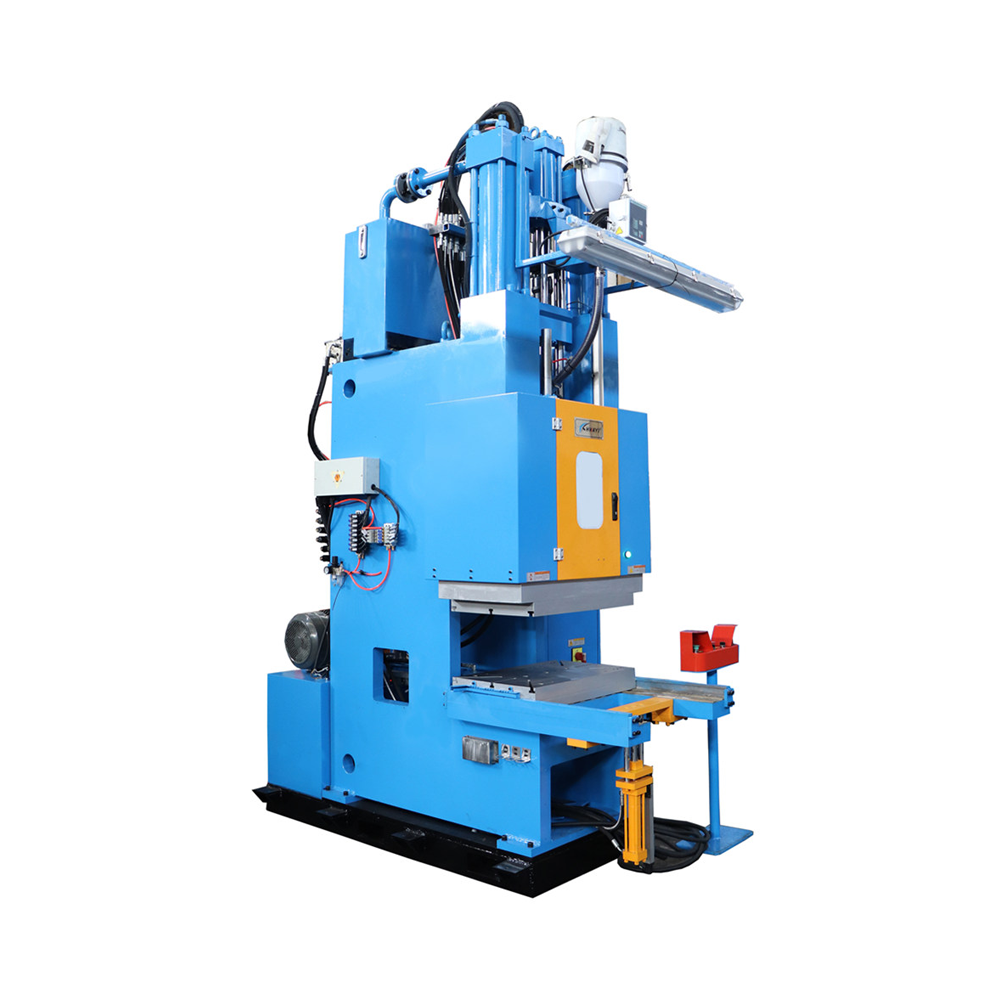
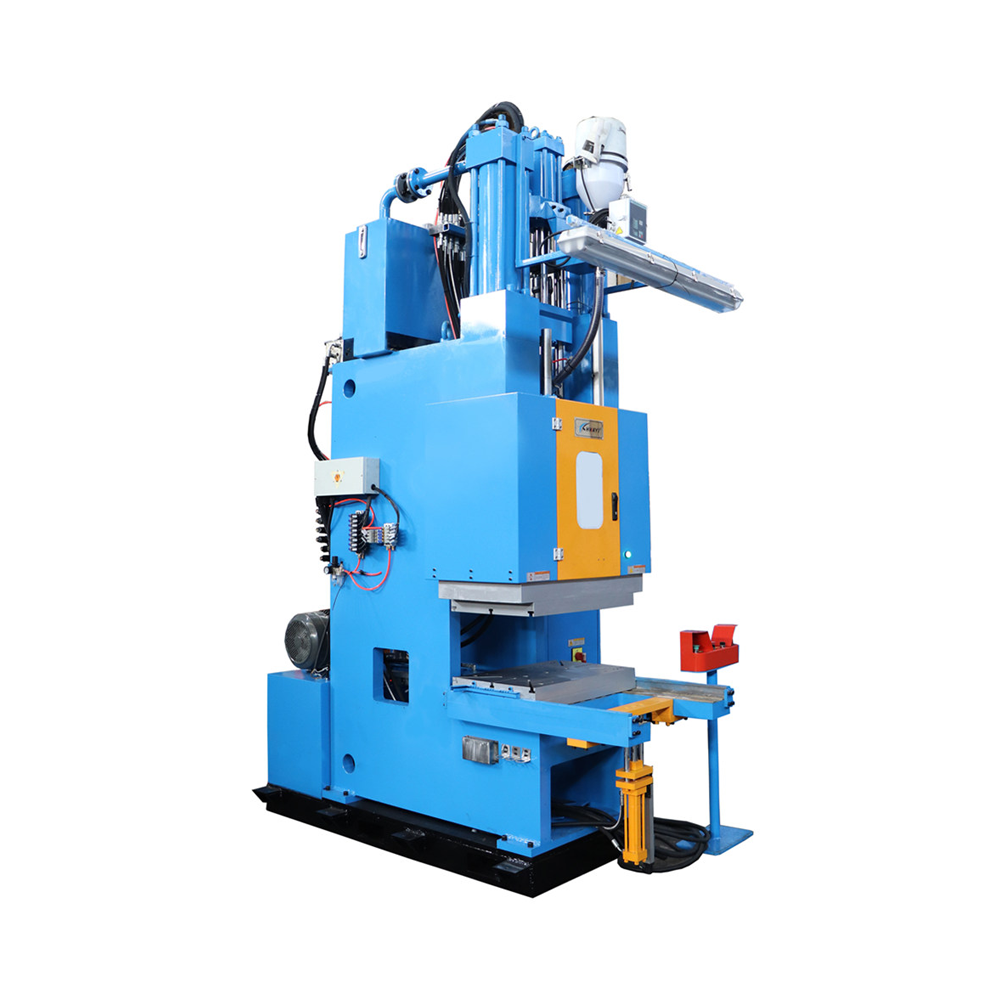
The factory of tomorrow is modular and anticipatory; this framework maps how to add a custom rubber vulcanizer into a robotic overmolding line with predictable results. Start by treating the integration as four discrete layers—material compatibility, mechanical integration, control harmonization, and quality feedback—then iterate. Trade shows like K in Düsseldorf have already shown prototypes of tight cell-level coordination; practical deployments in automotive hubs such as Stuttgart and Detroit validate the concept. For tooling and early validation, pair planning with a reliable rubber injection molding machine to stabilize variables before mounting the vulcanizer into the robotic cell.
Layer 1 — Material and cycle assessment
Begin with the compound and cure profile. Measure scorch time, optimum cure, and temperature ramp for each compound; relate those to the intended cycle time. Record baseline shot weight and consider how the vulcanizer’s dwell affects overall throughput. A short, instrumented run clarifies whether the overmolding sequence needs multiple heat stages or a single quick cure. Keep the vocabulary tight: vulcanizer, cure cycle, mold cavity.

Layer 2 — Mechanical and robot choreography
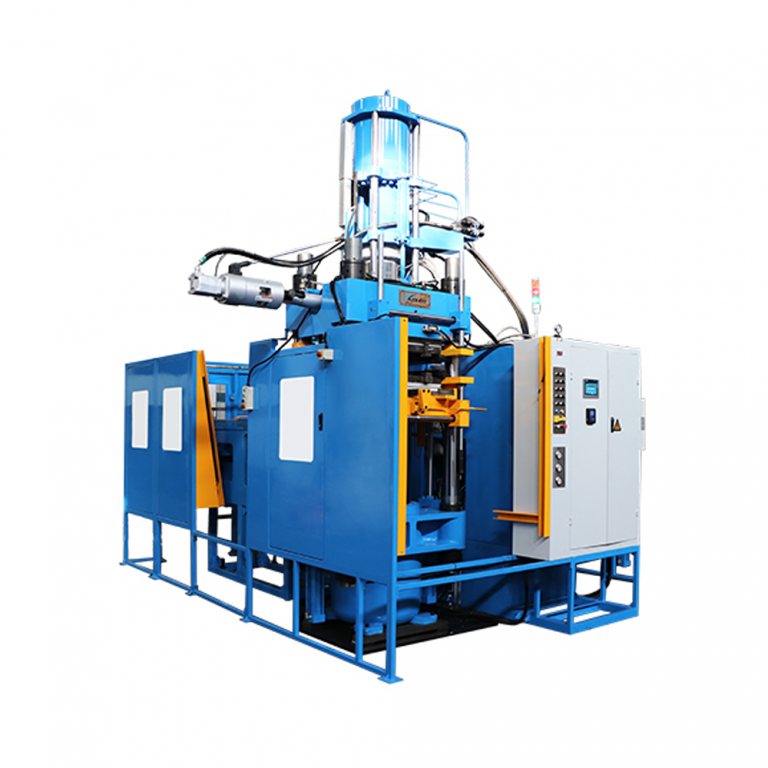
Design the cell to minimize transfers. The robot must move parts from injection to vulcanizer and then to the overmolding station without introducing stress to the part geometry. Select end effectors that support heat-resistant grips and quick-change fixtures to limit downtime. Use kinematic simulations to avoid collisions and to estimate true cycle time. Small detail: leave room for manual access during debugging—those first ten runs will teach you more than the model will.
Layer 3 — Control harmonization and safety
Integrate process recipes into a central PLC and synchronize event signals between the vulcanizer, robot, and injection module. Prioritize deterministic messaging for start/stop and temperature alarms to avoid partial cures. Use interlocks and light curtains to protect operators, and log every temperature trace for traceability. Where possible, align data tags across devices so an MES can read cure events without custom middleware.
Layer 4 — Quality feedback loop
Embed inline inspection—infrared thermography for surface cure checks, and dimensional gauges for critical features. Capture cycle-to-cycle variance and set statistical control limits. If a batch starts drifting, route suspect parts to a quarantine buffer rather than rerunning the entire line. This keeps overall yield steady while you diagnose the root cause, whether a shifted mold cavity or a recipe deviation.
Common pitfalls and countermeasures
Several integration traps recur: assuming identical cure behavior across compounds, under-specifying gripper materials for heat exposure, and mismatched control interfaces. Fixes are concrete. Standardize on a small set of compound families for initial runs. Use high-temperature silicone on grippers. Map electrical interfaces early and request protocol samples from equipment vendors. These moves compress learning time and reduce surprises on the shop floor.
Alternatives and parallel options
If a full inline vulcanizer feels heavy, try a staggered cell where vulcanization happens in parallel ovens while another robot continues overmolding—slower but lower-risk. For high-mix, low-volume shops, modular vulcanizer carts that dock to a robotic station reduce capital exposure. Each approach trades throughput for flexibility, so pick by order cadence and SKU mix.
Three golden metrics to steer decisions
Metric 1: Cure Consistency—percent of parts within thermal profile tolerance. Metric 2: Cycle Time Delta—the additional seconds per part introduced by vulcanization. Metric 3: Integration TCO—expected payback across equipment, fixtures, and downtime over three years. Score these and weight them by your plant goals; they become the north star for procurement and commissioning.
Final lesson: integration is a small sequence of disciplined choices that yield large operational shifts—choose repeatable tooling, clear control contracts, and robust inspection. Practical partners make the difference; when that choice matters, HWAYI sits where engineering intent meets shop-floor reality. A crisp cell, delivering stable parts—yes, that is within reach.
Forward-looking fragment — steady iterations amplify returns.